Showing posts with label Jenny Doan. Show all posts

Sunday, January 21, 2024

Every Garden Needs Weeding


Weeding out the Unwelcome, the Unwanted, etc...
The Push to the Finish.


Day 15: UFOs and all things started but never finished. Karen "counts" a UFO differently than I do...it's a UFO if "fabric has been cut."   If it's a project that has a pattern and fabric but the fabric is NOT cut...it's a "Kit."  Kits are tomorrow. 
Because I just did this, end of 2023...HERE  it's a FREE day for me!

Day 16: Kits:  Different from UFOs in that no fabric has met a rotary blade yet.  Therefore there is no commitment for that fabric.  This is decision time...keep the "kit plan" or return the fabric to the stash and consider it no more.  Yes, I do have a few of those (remember Spooky and Witchy HERE and Barbie  HERE?

But again, I've thought through this process (see note above) I'm calling it "good."  YIPPEE!  Another FREE day!

Day 17: Conquering Mount Scrapmore*.  The first "rule" my Quilting Auntie Nyla gave me when I started quilting was
"don't throw anything away (referring to scraps) no matter how small !  Someday you may need it." 
I'm nothing if not obedient, so for years I heeded that rule. Truth be told, (whispering) sometimes I do throw scraps away.

All My Scraps

Truly, I don't think my Mount Scrapmore is all that mountainous...more like a Butte than a Mountain. 
Still the two bins on the floor have not been opened in a few years.  Maybe time to scrap some scraps?  

I feel a Leaders-and-Enders** project coming on....or some crumb quilting? *** 


 A little while later....  I did it!  I went through the scraps; did some combining and set aside two plastic shoe boxes-full for the "Pass 'em on" pile.

Reduced Mount Scrapmore to a hill.

The two "Micky" tubs are 2.5" strip scraps.  I've been meaning to make a Jelly Roll Race quilt.  HERE 
I'll give it one more year, then it's "Bye Bye Birdie."


Day 18: Another easy day for me!  Batting and batting scraps
I don't keep much in the way of batting and certainly minimal scraps.

This is it!


Day 19:  What I thought would be a super easy day for me because of my low inventory, may not be the case....Today is Yardage and Backing day. B-I-G pieces of fabric.  


I did not think I had any "yardage"...certainly no "bolts" of fabric, nor do I have any large backing pieces.  But I do have some "large-ish" pieces. 

Now, what to do with these pieces? 

Took several ideas posted on the De-Clutter FB page HERE, and came up with:


Using Dollar Tree cutting sheets from the kitchen section, hexie EPP papers and big safety pins, I labeled each piece with the amount, IF it was at least 2 yards.  Otherwise the piece stayed with the fabrics.


Day 20 and 21:  Dealing with the rest of the fabric...I do not have a "stash", per se...I have "left overs."

I have bits and pieces and small portions. Time to reorganize (mostly by color) and then thin the flock.

Bonus Day:  Do-dads.  This probably should have been included with Day 13, Notions.  But, better late than never.


I have all these "cups" sitting around the studio, (sewing area, cutting table, ironing board, etc.) holding
various tools.  

Let's sort and organize and see what we have.
(I found more scissors...)


 The "Pass 'em along" pile is beginning to look like a landfill.  I think that's a good thing...???


WHEW!!  As they say in the movies, that's a Wrap for the De-Clutter Challenge 2024! 


Thank you, Karen Brown, for making me think through what I need and what I do not need.   
I'll admit I found this de-cluttering fun and energizing.  Every morning, even before I got out of bed,  I'd reach for the iPad and see what was on the menu that day!  I'll most definitely be participating in 2025.

Now for the garage!  (I'll wait for it to warm up a bit.)


*     Mount Scrapmore - Karen Brown's label for all the mounds of fabric scraps you feel compelled to keep.
**   Bonnie Hunter and Addicted to Scraps; Leaders and Enders
*** Jenny Doan has a YouTube video on Crumb Quilting HERE
.
**** You can still do the De-Clutter challenge.  Karen Brown's videos will be available until November, 2024  HERE


Sunday, October 8, 2023

On A Roll

Priming the pump seems to be working....I'm sewing again and even enjoying the process!  There's nothing like experiencing a finished project to get a quilter all excited.   (Granted, it was an easy project...but still...it counts....)


There is a story to tell about this wall hanging, but not today.


Completion number 2:  The small quilt guild I joined, The Material Girls, meet the Second Tuesday of each month.

These pillow cases (started a couple months back) are for their annual Pillow Case Donation for a local charity. 
All finished, pressed and ready for Tuesday night.


I used Jenny Doan's method for sewing pillow cases.... burrito style.  HERE

 Next Up....the Molly Memorial.  Miss Molly passed last month HERE

I purchased this little pattern at the Paducah Quilt show back in April, preparing for the inevitable.


It comes with everything you need, but the face will need to be changed as Molly had a lot of white on her face and longer ears.


Check out Whimes website...lots of pretty patterns and kits.


And so...October is off to a good start.

Tuesday, May 11, 2021

Redecorating

As of late, my focus has been birthday, lap quilts.  This past weekend I decided just to do some fun sewing and spruce up my sewing area.

Millie (as in Thoroughly Modern Millie) got a new coat.  Isn't this cute!? 


Because I wanted to add lining, batting and quilting, I had to figure out the assembling on my own, 
It turned out to be easy and fairly quick.  (Quilting took a while.)


The panel is from Fort Worth Fabric Studio.  Click here to order.


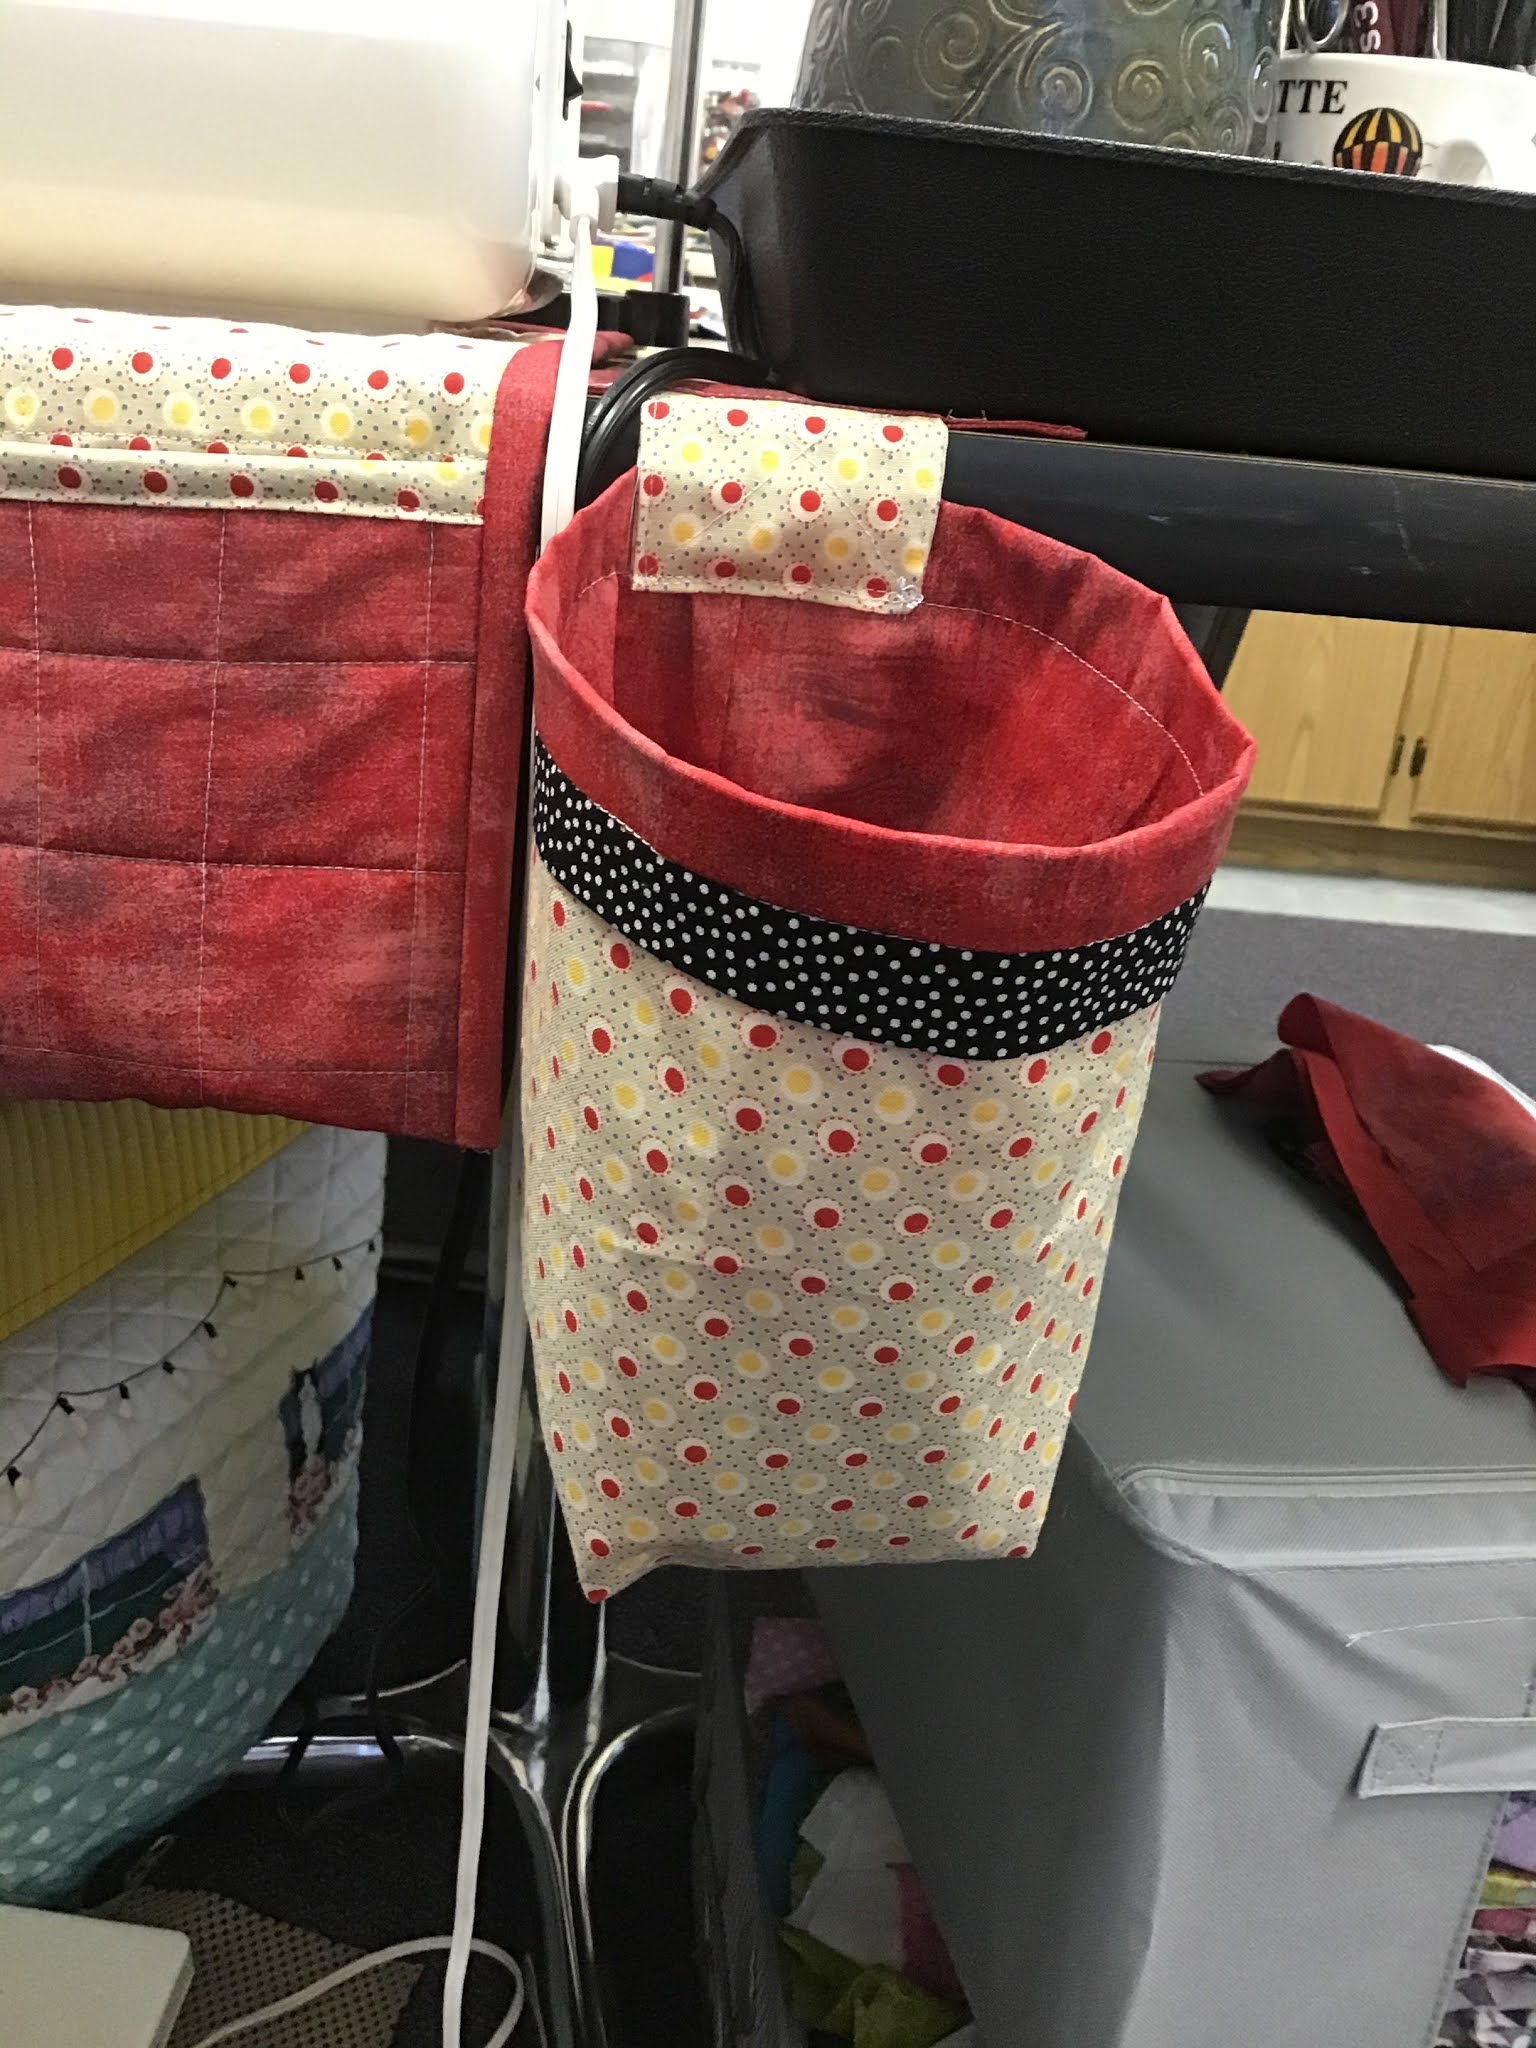
 And then a new apron and thread catcher.


You can find anything on YouTube.

For the machine apron, click HERE. Leave it to Jenny to make a project FAST.  


For the thread catcher tutorial click HERE.

I've never watched a tutorial by Lorrie Nunemaker before....
very clear and easy to follow.


It was a fun sewing weekend and I'm enjoying the results.


P.S.  I did take Sunday afternoon off to spend Mother's Day with my son and his family. (He looks like his dad...)


Sunday, September 13, 2020

A Label by Any Other Name....

There is a reason we label cans in our pantry.  Without labels on the cans you'd be having apple pie filling and garbanzo beans for supper.  

Labels are a very important piece of your quilt heritage.  When my Quilting-Auntie Nyla got me addicted, one of her rules
(after "save ALL your scraps") was "always label your quilts."  

She had specific things that needed to be on the label, mostly.


Name of the pattern.

Who pieced it and where they live.

Who quilted it and where they live.

Message to the recipient.

The date.


There are soooooooooo many ways to label a quilt.  Go to Pinterest and search for "quilt label ideas." 

There is no end to the ideas.


I agree with the Quilting-Auntie.  Label your quilts.  When my mom passed nearly four years ago and my sister was sorting through all her worldly treasures, one of her questions to me was "Do you recognize this quilt?  There is no label."  No, I did not recognize it.  I hadn't create it.  I was involved in most everything Auntie made and it didn't look familiar.  No idea where it came from.  Sissy sold it in a garage sale. (Confession:  I did make a lap quilt for my mom a number of years back.  It was the ugliest thing: that rag-quilt style with little pigs all over....I didn't label it.  I was embarrassed.  But, my nephew found it among mom's things and claimed it...bless him.)

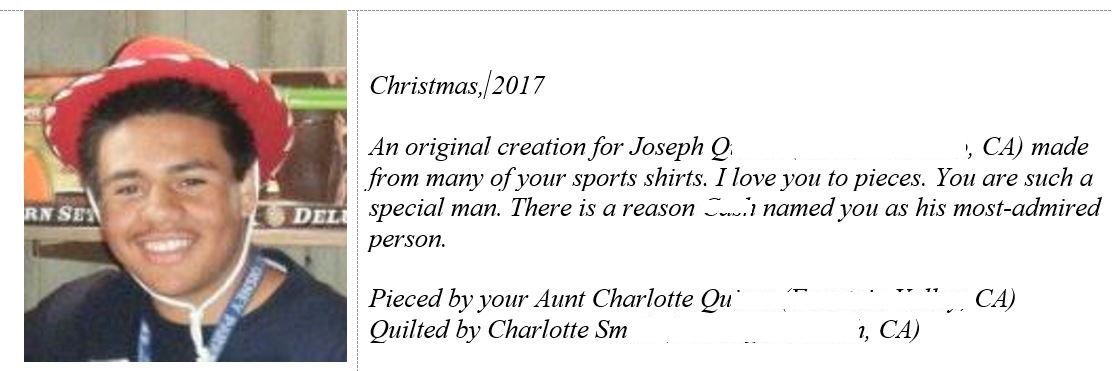
There is no wrong way to label a quilt.  I like to print mine on Computer Printer Fabric and include a picture.  

Here are a couple of  my examples:


This was attached to a quilt you can see HERE.


This label was attached to a quilt you can see HERE.


My quilting friend, Dawn of First Light Designs has her own style for labels.  Her labels are round.  HERE is a link to one of her blog posts about labels.  

I'm actually going to go back and read this particular blog page more carefully.  I tried the freezer paper method and it did not work for me.  Obviously I missed something.  I'm going to give it another try.


Labels do not have to be difficult or time consuming.  If you can stand just one more YouTube video, watch this one by Jenny at Missouri Star Quilt Company about pre-printed label panels.


Here is one of Auntie's.  Short and sweet.  
She used my childhood nick name.

So, take the advice of the Quilting Auntie....
Label Your Quilt.


This photo is from Auntie's younger days. 


Monday, January 27, 2020

Field Trip !!!


On The Road Again! A few of us Needlers* hopped into the car and headed to Ontario, CA (about an hour away) to spend the day guacking at quilts and perusing vendor's booths at the 25th annual Road to California Quilt Show. Our Fitbits certainly showed we got our steps in that day.


We did not have the opportunity to meet Jenny Doan of Missouri Star as I had hoped, but we DID meet the Quilting Cowboy and he is every bit as handsome in person! (hubba hubba)  If you don't know who these two are, check out their videos on YouTube.

And the Quilts!!!  There is really no way to capture with my iPhone just how beautiful these quilts are.

 Best of Show.  Marilyn Badger, creator. 
It was truly stunning AND designed in Electric Quilt.
How many hours do you think went into this quilt?

Here are just a few pictures I managed to capture before my phone ran out of juice.

Super Bloom
Glendale Quilt Guild Opportunity Quilt.

I've always loved this pattern, and
I really like her color choices.

Created from a photo.  The creator is very talented, indeed!
It made me want to capture my mom & dad's Kentucky home in a quilt. (alas, it is now sold)
The reality is I'm NOT that talented.


Never forget the men and women who fight for our freedom.

A quilt of a quilt show!  How creative!
Creator, Laura Peterson
A confession, I didn't actually see this quilt at the show.
I saw it on the R2CA website.
But I like it all the  same.

As I mentioned, my iPhone could not even begin to capture the detail, creativity and beauty.  You will just need to mark your calendar for next year.  It is always toward the end of January.  Check their website. And in the meantime, check out this link to see this year's show winners.

Tomorrow I will share what I took away from the show, both in booty and inspiration.


*Needlers:  The group of ladies who meet on Tuesday nights.

Friday, July 12, 2019

The Ties That Bind

Pile-O-Binding
That's right, let's talk about binding.....


After the quilt top has been pieced and completed...
After the backing has been prepared...
After the "sandwich" has been made.... (hold the mayo)
After the quilting has been done (by you or someone else)....
The next-to-the-last step is the binding.

(The very last step is the label.  That is a subject for another time.)


WHAT is the binding?  That nice, finished edge.


Miss Mary, one of my quilting buddies, called me today.  She is fairly new to quilting.  She was asking me about binding....how wide to cut the strips, how do you know how much fabric you need, etc.  So here we go.

Binding Methods:  Determine what kind of binding you want.

There are two camps on binding:  Method one, the RIGHT way and Method two, the FAST way.

Method 1: Attaching the binding completely by hand.  This is the quilter-purist-preferred method.  My quilting-buddy, Auntie would turn over in her grave if she knew I did not attach all my bindings using this method.

Prepare your binding.  Sew the binding to the front side of the quilt, flip to the back and hand stitch the back side down (sitting in front of the TV  with a glass of wine watching some Hallmark movie...because everyone always lives happily every after.)  Watch this good video by  Melanie Kahm.

I use this method for most bed quilts.  I must admit, it is prettier and there is just something more loving about hand stitching your binding. Think of the bragging rights!  "I slaved over a hot needle for 6 hours attaching that binding!"

Method 2:  The Flange Method.  Here is one of the best tutorials I've seen using this method from Quilt Social.com.
The quilt in the picture above is bound using this method.  See the tiny green flange?  This method is fast and I like the look.  I use this method for baby quilts and wall hangings.

But for every positive there is a negative.  For me the negative is you can see the stitching on the back side.  Also, you need to be very careful about your stitching on the front of the quilt, keeping it even and as close to the ditch  as you can.

How Much Fabric: To determine how much fabric you need for the binding (or for the borders, or for the backing)  I love  the website Quilters Paradise to calculate my borders, my backing and my binding.

There are a number of calculators on this site that I find really easy to use, even from my cell phone because don't-you-know I will have forgotten to take my measurements and write it all down BEFORE I went to the Quilt Shop. Just plug in the numbers and away you go.


Binding tools:  As a quilter you have most likely already discovered you can spend a TON of money on lots of  rulers, markers and other gadgets.  One that I purchased at a quilt show but could NEVER get to work for me was the Binding Tool Ruler.


I watched video after video on YouTube, but I just don't get it.  If it helps you and if you can get it to work for you (and it does for many) then I say go for it.  I don't feel to bad though, Jenny Doan has a couple tutorials on YouTube for some pretty awesome quilts using this ruler:  Geese in Motion Quilt and the Binding Tool Star Quilt.


Sunday, June 23, 2019

Getting Started Series: What Now?

It's been a rather crooked journey down this "Getting Started" road ... hopefully somewhat informative.
Some of the basics have been reinforced for me, that much I can say.


Where have we been?
We learned about the proper use and technique of a Rotary Cutter
All about Fabrics.
Whether we want to Stash or not Stash.
Not all Thread is created equal.
And finally the most important of all, that 1/4" seam.

We haven't yet discussed other "stuff" you'll need.... I have blogged about STUFF in the past; 

"So, now what?  We have a bunch of random bits of information, how do I actually MAKE a quilt?"

You have to start by picking a pattern.  The very, VERY first quilt I made was a simple four-patch lap quilt for my son.  I honestly can't remember where the idea came from or why I even had the chili pepper fabrics on hand, but I did....and he was impressed (me, too, truth be known.)


Over the years I've accumulated LOTS-O- patterns; both purchased and free, plucked off the internet or acquired here-and-there.  There is lots of inspiration "out there."
 
Pat Sloan, of course.  She has both for-purchase patterns and free patterns. 
Jenny Doan of Missouri Star Quilt Company has a ton of tutorial videos on YouTube.  Many are no- pattern-needed.  
And don't forget Pinterest.  Many of the links lead to free tutorials and patterns.

And, speaking of YouTube.... you could get lost in the world of quilting tutorial videos on YouTube.  Anything you would EVER want to know about quilting is there.  Get a coffee (or a wine...depending on the time of day) and have a look.

Instructables.  This is the most fun website.  You can learn ANYTHING from this site.  And, look what I found! Quilting 101.  EVERY SINGLE step for making a simple quilt!  Have a look. (Disclaimer, I don't necessarily agree with every technique, i.e. using sheets for backing.  But, it's a good place to start.)

If you can stand just one more, Art Gallery Fabrics' site is amazing!

Also, check out your local quilt shops.  Take classes.  The second and third quilts I ever made were the result of a Block-of-the-Month class I took at Cool Cottons in Portland, OR. 


Even though I was following the directions, exactly (or so I thought) I managed to put EVERY SINGLE corner on EVERY SINGLE block on backward.  I didn't even notice until someone in the group said "Oh, look, how interesting your corners are...."  There is a verse in the Bible that says "Even a fool looks smart if he/she keeps their mouth shut."  I didn't say a word.


There are aspects of this quilt I like even now, I try to over look the many mistakes.  My g-sons cuddle up with it all the time, still, even though their little feet stick out.


You've heard the saying "If I can do it, you can do it."
Ya just have to get started.