Friday, January 11, 2019

Getting Started Series: Using a Rotary Cutter

Lately I have had a number of people ask me "how do I get started" making a quilt.  So, I decided to go back to the basics.  Today: How to use a Rotary Cutter.

Not long ago a newbie quilter picked up my rotary cutter and went to town.  She was not holding it properly, she was CUTTING TOWARD HER and even trying to cut on the opposite side of the mat.  I almost fainted!

I read the following on Facebook and thought it was well written and worth re-posting.


"Be safe with knives. Most of us are pretty solid on that fact by the time we're old enough to operate a sewing machine. And yet, when it comes to using a rotary cutter... things can happen. 

Obviously the rotary cutter is a wonder-tool we couldn't live without. So fast! So efficient! So precise! The thing is, it has a really (really!) sharp blade, so you need to be a lot more careful than if you were just snipping away with scissors. These 12 tips will help make sure you get to your sewing with all 10 fingers intact.

1. Remember, that blade is sharp!

Yes, we are repeating ourselves But it's easy to get careless once the crafting excitement sets in. This is a razor blade, people. Always handle it with care. 

2. Match brands

No, you cannot cut this corner. The blade really needs to fit perfectly into your cutter for it to work correctly and safely. Make sure you always buy the same brand and size blade that came with your cutter originally. 

(CRQ Comment: I'm not sure this is so important.  Anyone have a comment on this?)

3. Consider the size

Rotary cutters come in many sizes, and you may want to stock up on a few different ones so you can match them to your project. For example, if you’re cutting something small, using a large cutter is just inviting trouble. The opposite is true as well, where using a small blade on thick layers forces you to over-push, and risk a dangerous slip. 

4. Use a ruler

Not only will this keep your cuts straight, it also gives you a safety barrier between the blade and your hands. But not just any ruler will do — use one that's at least ¼” thick to give the blade something to cut alongside. Otherwise, in a distracted moment your slicer may jump up onto the ruler and run right into your hand. 

(CRQ Comment:  you may also consider a ruler grip such as one of these.)
Gypsy Grip


Ruler Handle


5. Put down a mat

A self-healing mat does more than protect the surface below. It also helps the blade glide along smoothly, reducing the risk of a bump, slip, ouch! 

(CRQ Comment:  The same friend who mis-handled the rotary cutter also used her kitchen bread board the first time she was making a quilt solo because she didn't remember that I had a special cutting mat.  Ha Ha...she gave me quite a laugh!)

6. Cut away from the body

Always, always cut away from your body, never by pulling the tool towards you. Makes sense, right? A rotating mat can help here. 

(CRQ Comment:  You may want to consider gloves. Personally, I do not use them but every time I pick up the cutter I am uber aware of where my left hand is and I PAY ATTENTION to what I am doing!)


7. Stand up while cutting

We'd love to say it's fine to cut from a comfy seated position, but it's much safer to stand. That way you can put your body weight into the cut for a firm, secure slice. Plus, you have a better view of your work if you're standing over it, meaning you always know exactly where that blade is. 

(CRQ Comment:  I do sit down sometimes when I'm using the cutter, but it is not as comfortable and the blade can sometimes slip.  You want to be very careful.  Also, you might consider using bed risers to raise your cutting surface if you are experiencing back pain while cutting for extended lengths of time.)

8. Close the safety

Just make it a habit: Always close the safety cover right away. As you pull the cutter up from the fabric, shut the plastic cover right then and there. That way if you accidentally drop it, it won't cut your fabric, bare feet, or something worse! 

9. Keep it sharp

You've probably heard this one before: a dull blade is way more dangerous than a sharp one. If your cutter is dull, you have to apply even more pressure, which only increases the risk of slip-ups. Avoid this issue altogether by replacing your blades often. 

(CRQ Comment:  Don't skimp on blades.  Do not buy discount blades and replace them often.  I've heard you should replace your blades after changing your sewing machine bobbin 4 times. This is also a good time to change your sewing machine needle.)


10. Change the blade carefully

So we just told you to change the blades. And when you do, do it with plenty of caution. This means taking a peek at your cutter's manual if you're not completely sure on the process.

How to replace the rotary cutter blade:  Click Here

11. Discard blades safely

Stop right there — don't just throw that blade in the trash! Carefully cover up its edges with thick tape to make sure it does no harm further down the road. 

(CRQ Comment:    I use a Sharps container to dispose of all used blades, needles and bent pins.  Basically anything that is sharp.)

12. Store safely

Once crafting time is over, put that puppy somewhere far away from kids, or anyone who might not immediately recognize it for what it is."

I'm also listing a few YouTube videos showing how to use a Rotary Cutter.
 
Missouri Star Quilt Company video
Fons & Porter Quilty video
Vanessa at Crafty Gemini

Wednesday, January 2, 2019

The Year of the Pig...The Year of the Scrap Quilt


And so a new year begins.  As I've done in the past, some quilty friends and I met at Piecemakers Country Store on New Years Day for their annual 40% off sale...and lunch.  We laughed, we shopped, we ate. Getting all ready for a year of quilting.


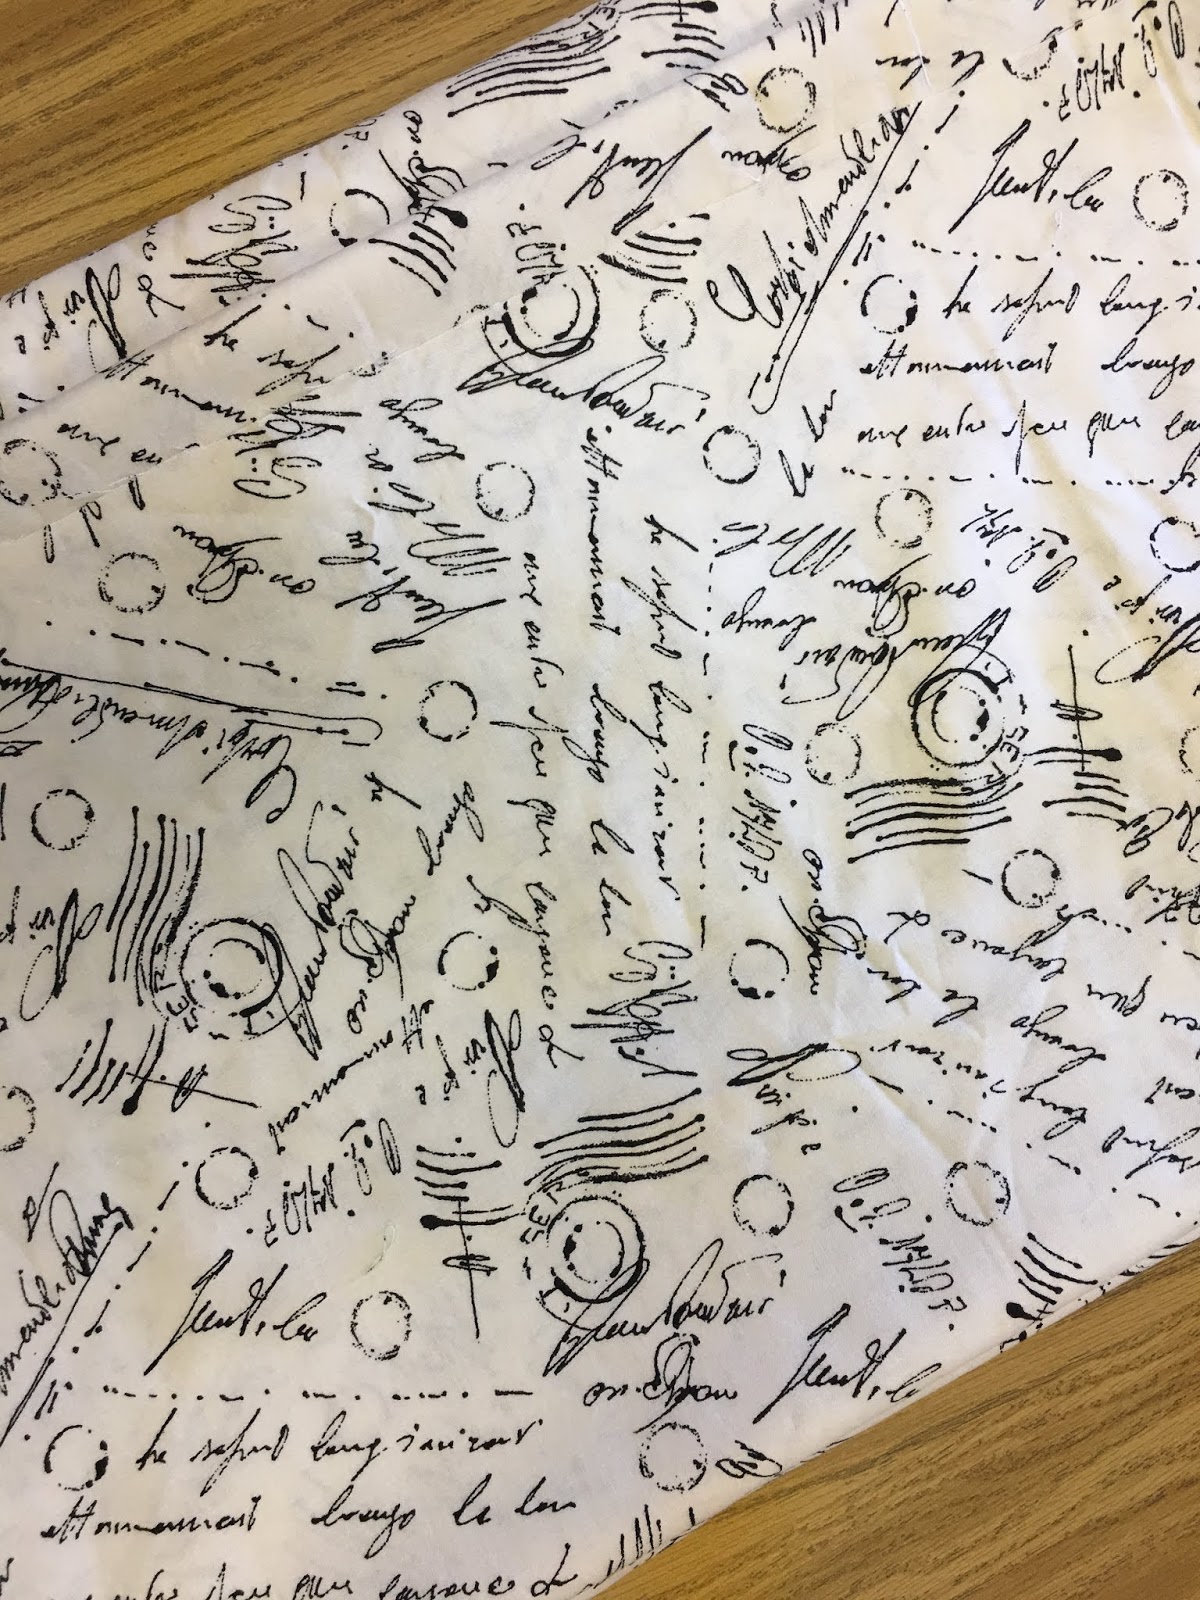
Each of us purchased fabric for our next project:  Nancy, fabric for a bed runner using batiks; Kate, fabric to make her granddaughter a quilt; myself, 10 yards of what I call a "calming fabric." A fabric I will use with my scrap quilts to "calm" them down.

Chloe 9185-W Script by Maywood Studio


I had already decided that 2019 will be the year of the "scrap quilt."  I am sewing up all my scraps.  Every left over strip, every square, every crumb I've been throwing into bins.  My goal is to have very few scraps or even a stash at the end of 2019.

I have been saving pictures of other scrap quilts posted on Facebook for inspiration. 

Christmas 2019 I'll be sending lap quilts to all my siblings.  What they will all have in common is this fabric.


On the wall a String Quilt for my brother.
This will be my first finish for 2019 (I won't
tell you when I started these string blocks.)

Charlotte S, Kate and Nancy collaborating.
In the foreground a pile of strips saved from
other projects--MANY other projects.


And, now, how 'bout you?  What are your 2019 quilty goals?


Friday, December 28, 2018

Looking Back ... Looking Forward

This has been a tough, tough year for our family..... talk about Life Interrupted ... this is not the place for details, but suffice it to say I'm so happy the year is coming to an end.  No one has passed...but it has been one-heck-of-a-year!


A few things kept me going this year; my faith, my friends and my sewing room.

New, Improved Community Sewing Room

I have managed to complete a few projects, despite all the chaos:


I'm looking forward to 2019.  Not necessarily because all my stresses and worries will vanish, but because it feels like a fresh start.  I'm looking forward to a fresh start.


Tuesday, December 11, 2018

Life Interrupted...Quilting Interrupted

It is hard to believe three months has flown by since my last entry here... life certainly got in the way, big time. I will not bore you with details, but suffice it to say lots-o-work travel and lots-o-family stuff.


And, here we are coming up on the end of another year!  Even my 12-year-old grandson said he thought this year flew by fast. ( I didn't have the heart to tell him the older he gets, the faster the years will fly.)


I have two more weeks of work-busy and then a week off.  I'm hoping to Get back on Track with Quilting.

Sunday, August 26, 2018

When The Going Gets Tough

Sometimes life hits us hard...lately it seems many of my friends and family are going through tough times...when the going gets tough, those of us who can, get sewing.

One of my brothers-in-law is going through chemo therapy right now so I decided to make him a lap quilt.


This is a very simple pattern: Half Square Triangles (HST) using 10" blocks.  I originally used this method with another quilt from Missouri Star Quilt Company.   Still using HST but an entirely different pattern. (See it Here)

This is a very versatile, simple way to make a very fast-but-interesting quilt.


My LAQ used a pattern that complimented the geometric shapes in the quilt.


I decided to do the binding by machine.  The method I like is this "little flange" method.

I started using this method on place mats, wall hangings, baby quilts and anything that wasn't a bed quilt.  But, I find myself using it more and more. (I don't enjoy handwork so much.)

Click HERE for the tutorial.


 And finally, to make it cozy I used minky on the back.


I cannot DO anything about the suffering around me (sometimes I wish I had a magic wand) but I can make a warm, cozy quilt to let someone know I'm thinking of them. And I can, of course, pray.

James 1:12  (NIV)

Blessed is the one who perseveres under trial because, having stood the test, that person will receive the crown of life that the Lord has promised to those who love him.


Saturday, August 18, 2018

Wrapping Up Summer

A Few Signs that Summer is pretty much OVER! 

Dog Days of Summer - hot, Hot, HOT outside!


Oldest G-son's Birthday.
My first grand-love.
Football practice before the Season starts.
Youngest Babe all suited up.
He still looks a bit like bobble head.

There are a few times during the year that I like to re-group.  
End of summer - just before school starts is one of those times.

Yesterday I finished another UFO (#5 on the UFO list).

Laura Heine's Puurfect Cat Collage

This is for the up-coming charity auction for Cat Adoption Team, Whisker Wonderland.

 AND

I cleaned and organized my sewing space ....


I'm ready for Fall and new sewing adventures!


Friday, August 3, 2018

Circling Back

Been a busy summer...vacationing with The Babes in the Portland area; with work (of course) and even a bit of quilting done along the way (still working on UFOs)  the summer seems to be flying by.


Biking Portland's Waterfront

Ever have one of those quilts that NEVER seem to be finished?!  While I was away in Portland I received several texts from my LAQ...different "issues" with my most recent quilt.  (See Previous Post.) Seems I was in too much of a hurry to get 'er done.

Issue number one: BACKING NOT BIG ENOUGH!  What??!!???  I measured, I cut, I pieced....still, I missed?

Issue number two: some of my seams on the borders were "skimpy."  Trying to get those borders on a bit too quickly, 'eh?

Issue number three (the one that broke the camels back):  my outer border was wavy.  WHA!?  It was more than a body could handle! 


 After an appropriate time out, I had to decide what to do.  I was discouraged AND I was ready for this quilt to be done!  I was too far into it to say "forget it"  and besides, it is a gift for my sister's birthday...which was two weeks ago.  So I decided on a nice long date with Jack....cheesy movie on Netflix, a glass of wine and Jack. My personal version of  "A loaf of bread, a jug of wine and thou."


First:  take all the borders off.
Second:  remove the last row of four blocks from the length (it was too long anyway), make an additional block and add another row to the width.  Now instead of a 4-blocks by 6-blocks quilt, it is a 5-blocks by 5-blocks quilt.
New Quilt Size


New, Additional block


Finally:  Reattach the borders.

I decided to use a different method suggested to me by my quilting-neighbor, Wanda.
Her suggestion: instead of adding the borders (3) one border at a time, sew all the borders together and THEN add to the quilt, mitering the corners.  Sounds hard with that scary word "miter" but Wanda assured me it wasn't bad, she does all her quilts that way and she's been quilting A LONG TIME.

Borders


My very first mitered corner!


I love the look,  but it was harder than I thought it would be. 
It doesn't help that the finished top is 107" by 107".   SO much fabric!  
I believe this is the largest quilt I've ever made.
(My LAQ asked if it was "big enough" for the sister's bed....I should hope to shout!)


And, FINALLY, it is finished!  AGAIN!

Picture taken before the corners were mitered.


Of course, it still needs quilting and binding, but all-in-all, I'm happy with it.